Showing posts with label before and after. Show all posts

Thursday, March 15, 2012

A few Recent PROJECTS...Book Lamp and Matt's Chair!


A few weeks ago we made this book lamp!
Yup, we made it!
HGTV did a little tutorial on it here:
I loved it...and so we went on a hunt for old books.


Our Westerville Library has a section that hardcover books are $1...
so we picked up 10 and just started playing with them, stacking them, and then rearranging them all over again.

My brother in law gave us a few of these old wire baskets that his dad collected eggs in.
We cleaned it, but decided to leave the old paint look.
What do you think of our light?

My parents came this past weekend!
I love my parents...
They love to keep busy, so we decided to work on our kitchen.
My dad built an INCREDIBLE window bench for the nook.
My mom, dad and I sewed a cover for the long cushion.
and Matt...well, he was feeling left out so he decided to start working on the 11 year chair project.

He sanded, restrung, and de-horse haired/strawed the old cushions.
He sanded some more.
We found this king rocking chair by the side of the road and Matt fell in love.
But, he didn't know how to restring, recushion and felt a little overwhelmed.
BUT, DAD to the rescue!!
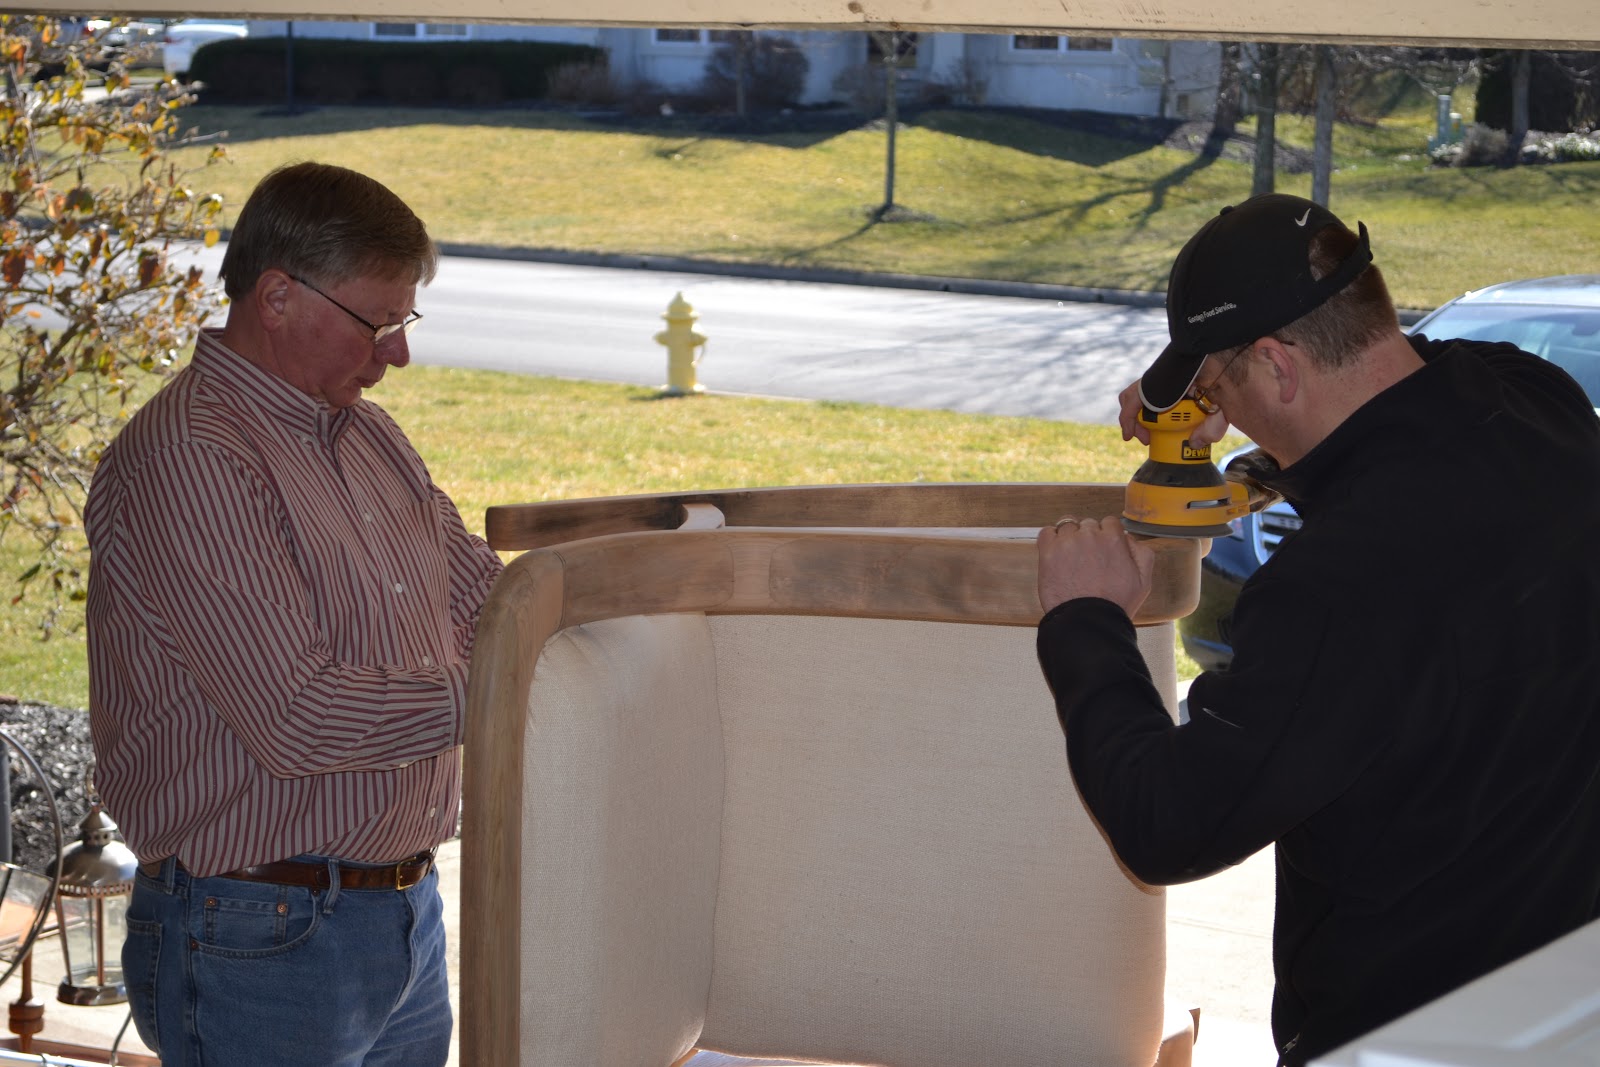
Dad recushioned...while Matt continued to sand.
It turned out fantastic.
Matt calls it his C.S. Lewis chair.
(The kids have to ask permission to sit in it...at least for the first day.)


Doesnt' the lamp and new chair look like they belong together?
Pefect vintage harmony?

Wednesday, January 4, 2012

FLOORS...before and after

One of my favorite projects of 2011 were the FLOORS!
There was vinyl in the kitchen, laundry and bathroom...and it was beat up.
**It was white with teal small squares in between the fake white tile look...
the problem was the white was now more yellow.
There were holes...nicks and to be honest I hated it so much that I decided it wasn't even worth cleaning.
The front entry way was forest green tile. 
And the family room, study and dining room all had horrible cream carpet.

Here is the BEFORE of the family room.

And the AFTER:
**please excuse the Christmas photos...


Hubby and I decided he would do the messy work...taking out all of the old...and we hired in the flooring experts to lay it. 
Here My Hubby is actually smiling as he starts destruction...
but I will promise you he was not smiling by the end. 
We both had blisters and sore bodies from the tear out.


I just LOVE seeing the tile come up!
But...we had a MESS!
It was Tuesday and we had company coming on Friday afternoon!


We begged all kind of helpers to pitch in...
(Look how excited Adi is in the background.)


So to make a long story shorter...our floor layer told us he couldn't come until Friday...but we had company coming and we had to get the floor down!  Well...because he said he wasn't coming till Friday we took Thursday morning off from our tear out work.  We weren't quite done pulling out all of the vinyl in the laundry, kitchen and bathroom.  The vinyl wasn't the issue...it was the 10,000 nails in each of the floor boards that had to be pulled up or hammered in.  At 11:00 I chatted with the flooring guy again and he changed his mind and decided he could come and start laying our floor that afternoon.  WHAT? um...GREAT!  We jumped up, called over the neighbors and as we were tearing up the back part of the house they were laying the front part!  WOW! 
They were fast too.  I am so glad we decided to have them lay it.


This was our trash pile...umm...that was a lot of carpet, tile, sub floor!
The garbage man had to go and get another truck to help him...but they took it all!


Another AFTER shot more of the floor.
We went with a 5 inch width and a darker stain. 
I LOVE it.


Here is another BEFORE...these were the pictures I took during the inspection...before we moved in.
NOTICE the frames on the wall in the upper right corner...
YUP...no pictures...just the frames.


AFTER: new FLOORS...
new paint on the BANISTER...


What do you think?
Sorry it took so long to post this Before and After...


Thursday, November 17, 2011

Bathroom Makeovers

My bathrooms needed a quick and inexpensive makeover...and so out came the black paint!
I figured if I was going to do one bathroom...I might as well do them all.
We would love to replace all of the vinyl in the bathrooms with tile...but that will come later...hopefully.

Here is the after photo of the upstairs "master bathroom."


I am a little ashamed of the before pictures because they are so gross. 
When we were doing our final walk through inspection I took these pictures...and lets just say that the guys living here could care less about having the house clean.

Here is the BEFORE:

and another shot of of the AFTER:

Here is the BEFORE shot of the kiddos bathroom:

and the AFTER:
and another view:

This next shot is the first floor bathroom.
I realized after I took the doors that I didn't have a before shot of the cabinets...
So excuse the leaning doors.

And the AFTER: 
I distressed these a little just to give it a rustic feel.
New bathroom cabinets make me happy.
All with just a gallon of black paint.

Monday, November 7, 2011

Staircase...before and after

When we moved into the house there were quite a few items on the must do list
to make the house our style:
new carpet
new wood floors
new granite countertops
new lights
But...since we had to be practical with our budget...the first thing I decided to tackle was our
STAIRCASE!
Here she is before paint:
I sanded her down...getting all of the chipped varnish off...
She also had a lot of scrapes from some pet that had lived here.
Then I primed her with a layer of KILZ 2.
Covers over the stains...

There I am...my hubby wanted to take this picture to show you all that I really did it.
Each and every spindle.
Argh...I hate spindles right now.
I think each one took about 15 minutes...I was so worried about drips. 
After priming...painting...and painting again...
I sanded it down to make it smooth... 
Then one last ROLLED coat...and another sand with 200 grit sandpaper and here she is... 
Here is our banister from the top of the stairs.
Matt hung the pictures for me...I LOVE IT! 
It reminds me of all of the amazing people in my life!

What do you think of the white banister?

Wednesday, October 5, 2011

Laundry Room Before and After

Ahh...my favorite room in the house.
This is the room I find true delight...the Laundry Room.
Okay, so I am trying to be optimistic.
I HATE doing the laundry...so in order to make it more fun,
I decided to make my laundry room more desirable.
Here is the before picture:
Doesn't that room just scream...SPEND TIME IN ME?
No.  Simply.  No.

Here is the AFTER photo...
When we moved we needed a new drier...ours was gas and this was electrical hook up.
So...YIPPEE I got my matching drier to my front loading washer.
Now they are so happy together. 
I wanted some more light in the laundry room so I decided to hang my window mirror.
Years ago I made this beauty by just going to my local glass dealer
 and they cut me a mirror to go inside an old window.
This week I made a few pendant  burlap banners...one for my mantel and one for my laundry.
Adison painted my little sewing thread holders turquoise to go with the color accents.

Ahh...Mrs. Meyers.
Love the smell...and the color was perfect too!
Plus a little bucket for those buttons, toys and lost socks that show up in the laundry.

The room is quite small...but it washes and dries the clothes...
if only it could fold and put the laundry away for me.
I needed shelving for my other detergents. 
So, I grabbed my old wood crates...
asked my fantastic hubby to put them into some studs...and wallah! 
SHELVES!  Plus...they are kind of vintage and fun.


Now...I want to put a cute little chandelier up...and maybe some more turquoise?
Maybe paint a pattern on the wall?
We'll see.
Guess I should go fold that laundry that was hiding in the drier.
Anyone want to come and put it away for me?

Monday, April 11, 2011

The Room is now Defined

Since the day we moved in the formal dining room has never been defined.
It had crazy blinds, a beautiful piano...
it had horrible track lighting that we took from the kitchen area and put in here,
 
      and it had a ginormous hutch...which I liked how it stored my dishes...
but it took up a huge part of the room.
So...I decided this room needed to have a little bit less craziness going on...
and maybe we could pretend to need a formal dining room.  I am not really all that formal.
And as you can see from the next picture the new table and chairs are not formal either.
But, for now it is better.

New drapes, new light fixture, new table...
the dining room is now DEFINED.

My dream is to paint the table a different color.  Maybe a nice creamy white?
What do you think of the new room?